
Unless I’m working on a project in the house I’m not happy. Recently I decided I’d like a chalkboard wall to write and draw on. Something I can constantly change to suit the season or celebration. First though I had to find the right wall to paint. Now this project made me more nervous than most. After all I was about to paint a wall black! What if I didn’t like it?
I needed to pick a wall that wasn’t too big, but big enough to fit all my doodles on. Somewhere I could see it everyday. Somewhere that was quite well lit. A black wall is going to be pretty dark so needs good lighting to work.

I chose a wall immediately facing the front door in the hall. I’ve only just painted the hall white, so to paint this wall black seemed a little daunting!
It took a while to chose the right chalk paint too. I looked at lots of different brands and the reviews of them. I ended up deciding on using this one from Amazon. You can find it here.

After the paint arrived I had to decide exactly how far to extend the paint, I umm’d and ahh’d about painting above the door. I eventually decided not to and used some masking tape to mark off the areas I didn’t want to paint.
Step by Step Guide
One masked off I started work on the painting, I used a brush rather than a roller as the paint was quite thin. Not like usual wall paint. A dollar would simply splash it everywhere. With a brush I could better control the flow and direction to. The chalkboard paint is also very fast drying so you can’t go over the area many times, you have to move on quickly.
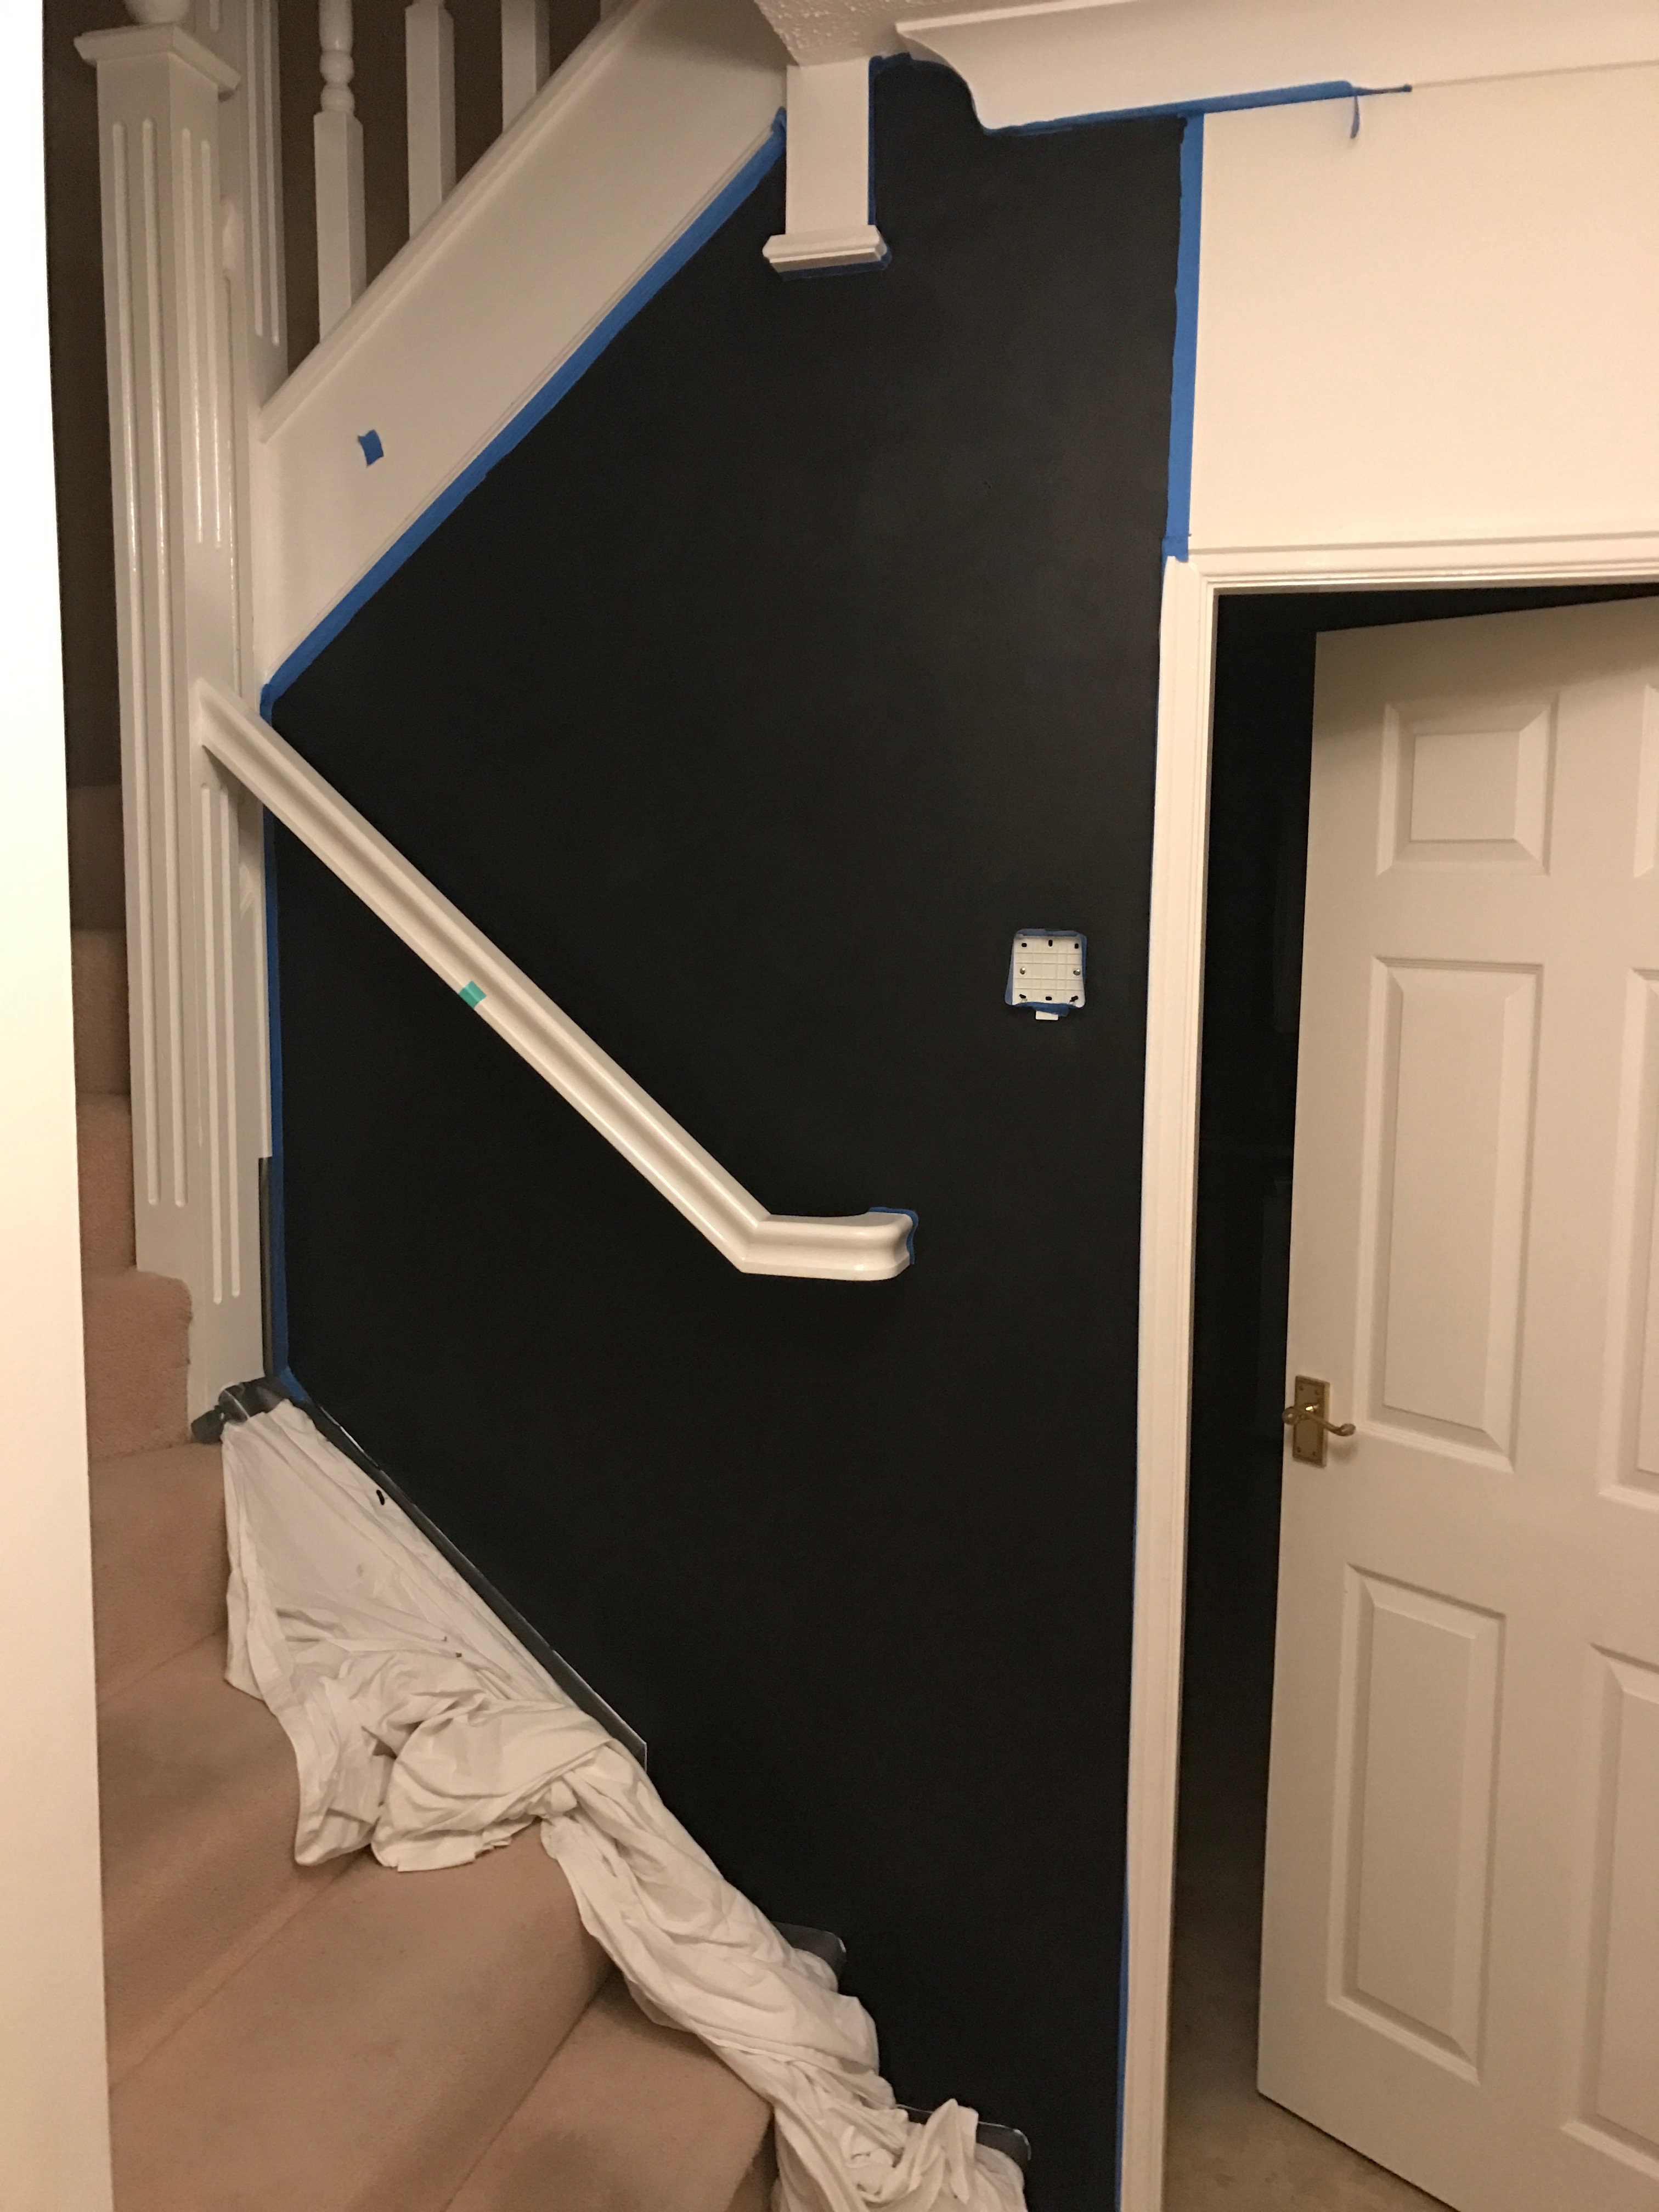
I also covered the stairs with a sheet taped to the wall. The white square on the wall is where the Hive thermostat clips on. I clipped it off to paint, which is a great feature.
After the first coat I decided that some areas looked a little patchy so I gave it a second coat. Left it to fully dry then carefully removed the masking tape. This is what it looked like when all that was done.

At this point I needed to use a tiny paint brush and touch up the very edges by the stairs. I carefully masked over the carpet and touched up the edges. Once all that was done I had to prime the surface. You do this by taking a regular white chalk and rubbing it sideways onto the chalkboard surface. Once it is all covered you will need a soft cloth to gently rub it all in. This part can be messy and I had to vacuum up all the dust from the bottom of the wall after I was finished priming the surface.
Now it was time for the creative fun to really begin!
The Fun Part
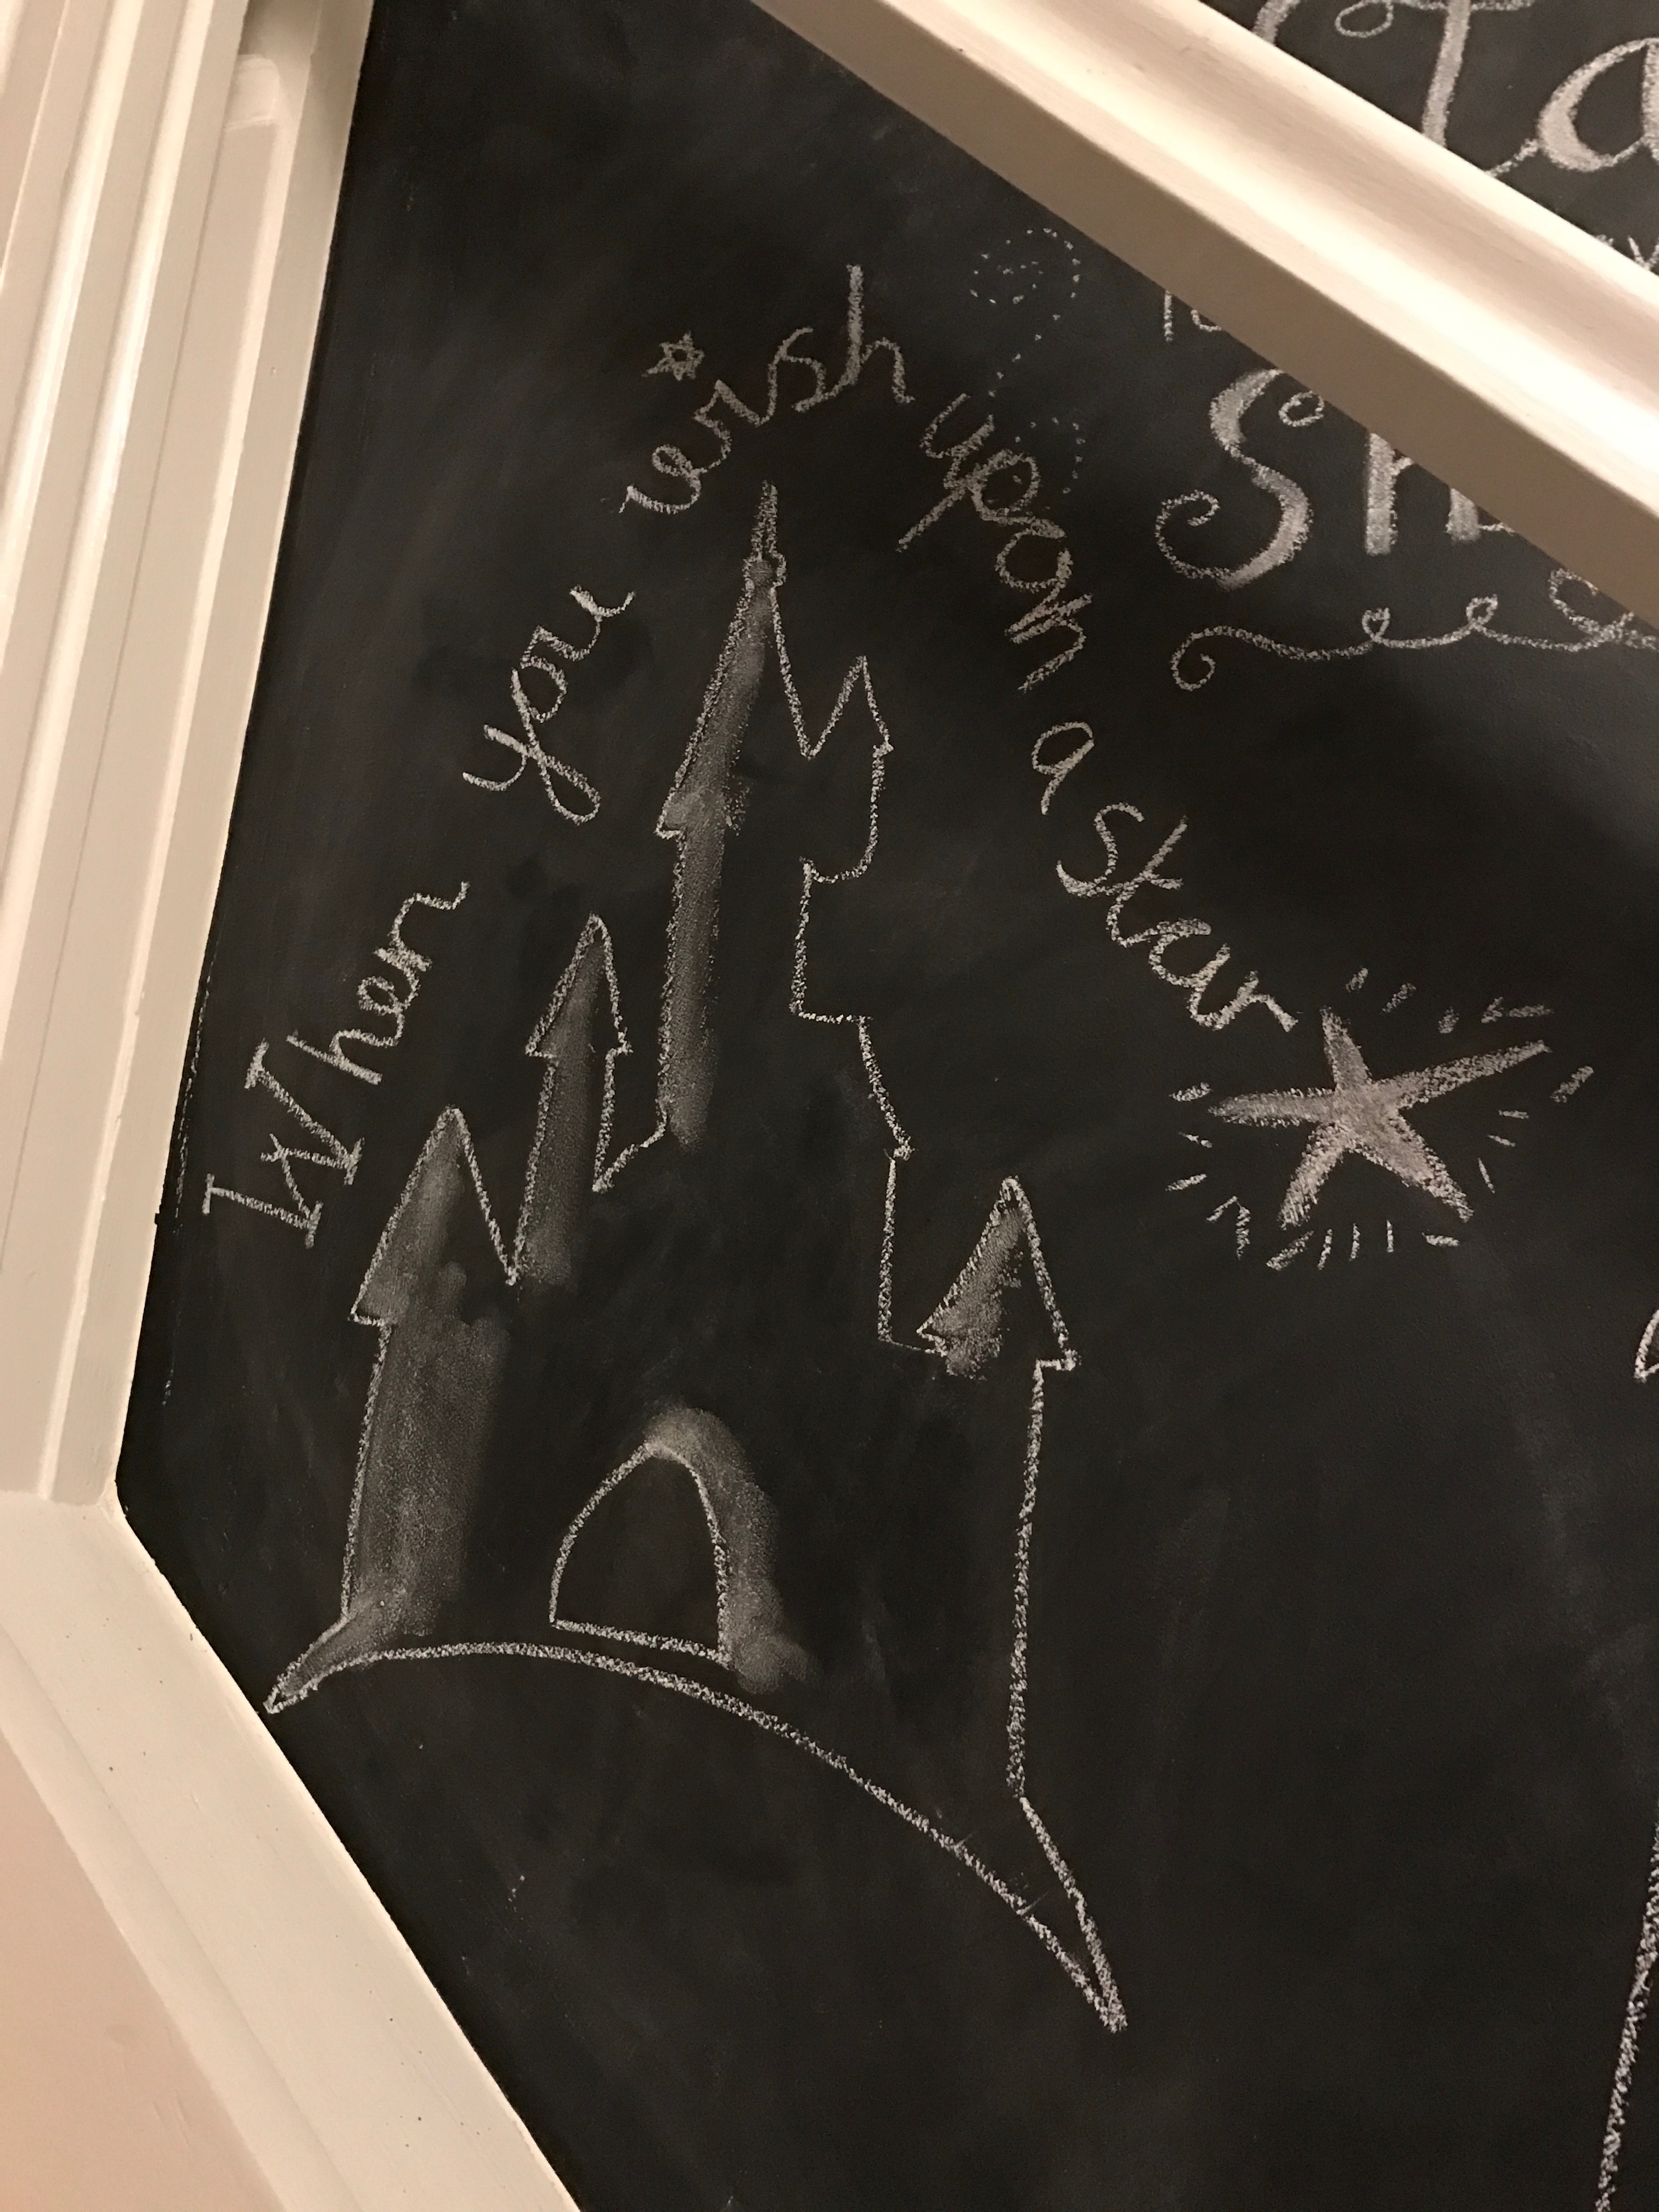
I started at the top of the wall. Taking inspiration from the internet, my bullet journal and of course Pinterest!

Anyone who knows us ,will know hat we are big Disney fans in our home. So we defiantly had to incorporate disney on our wall.
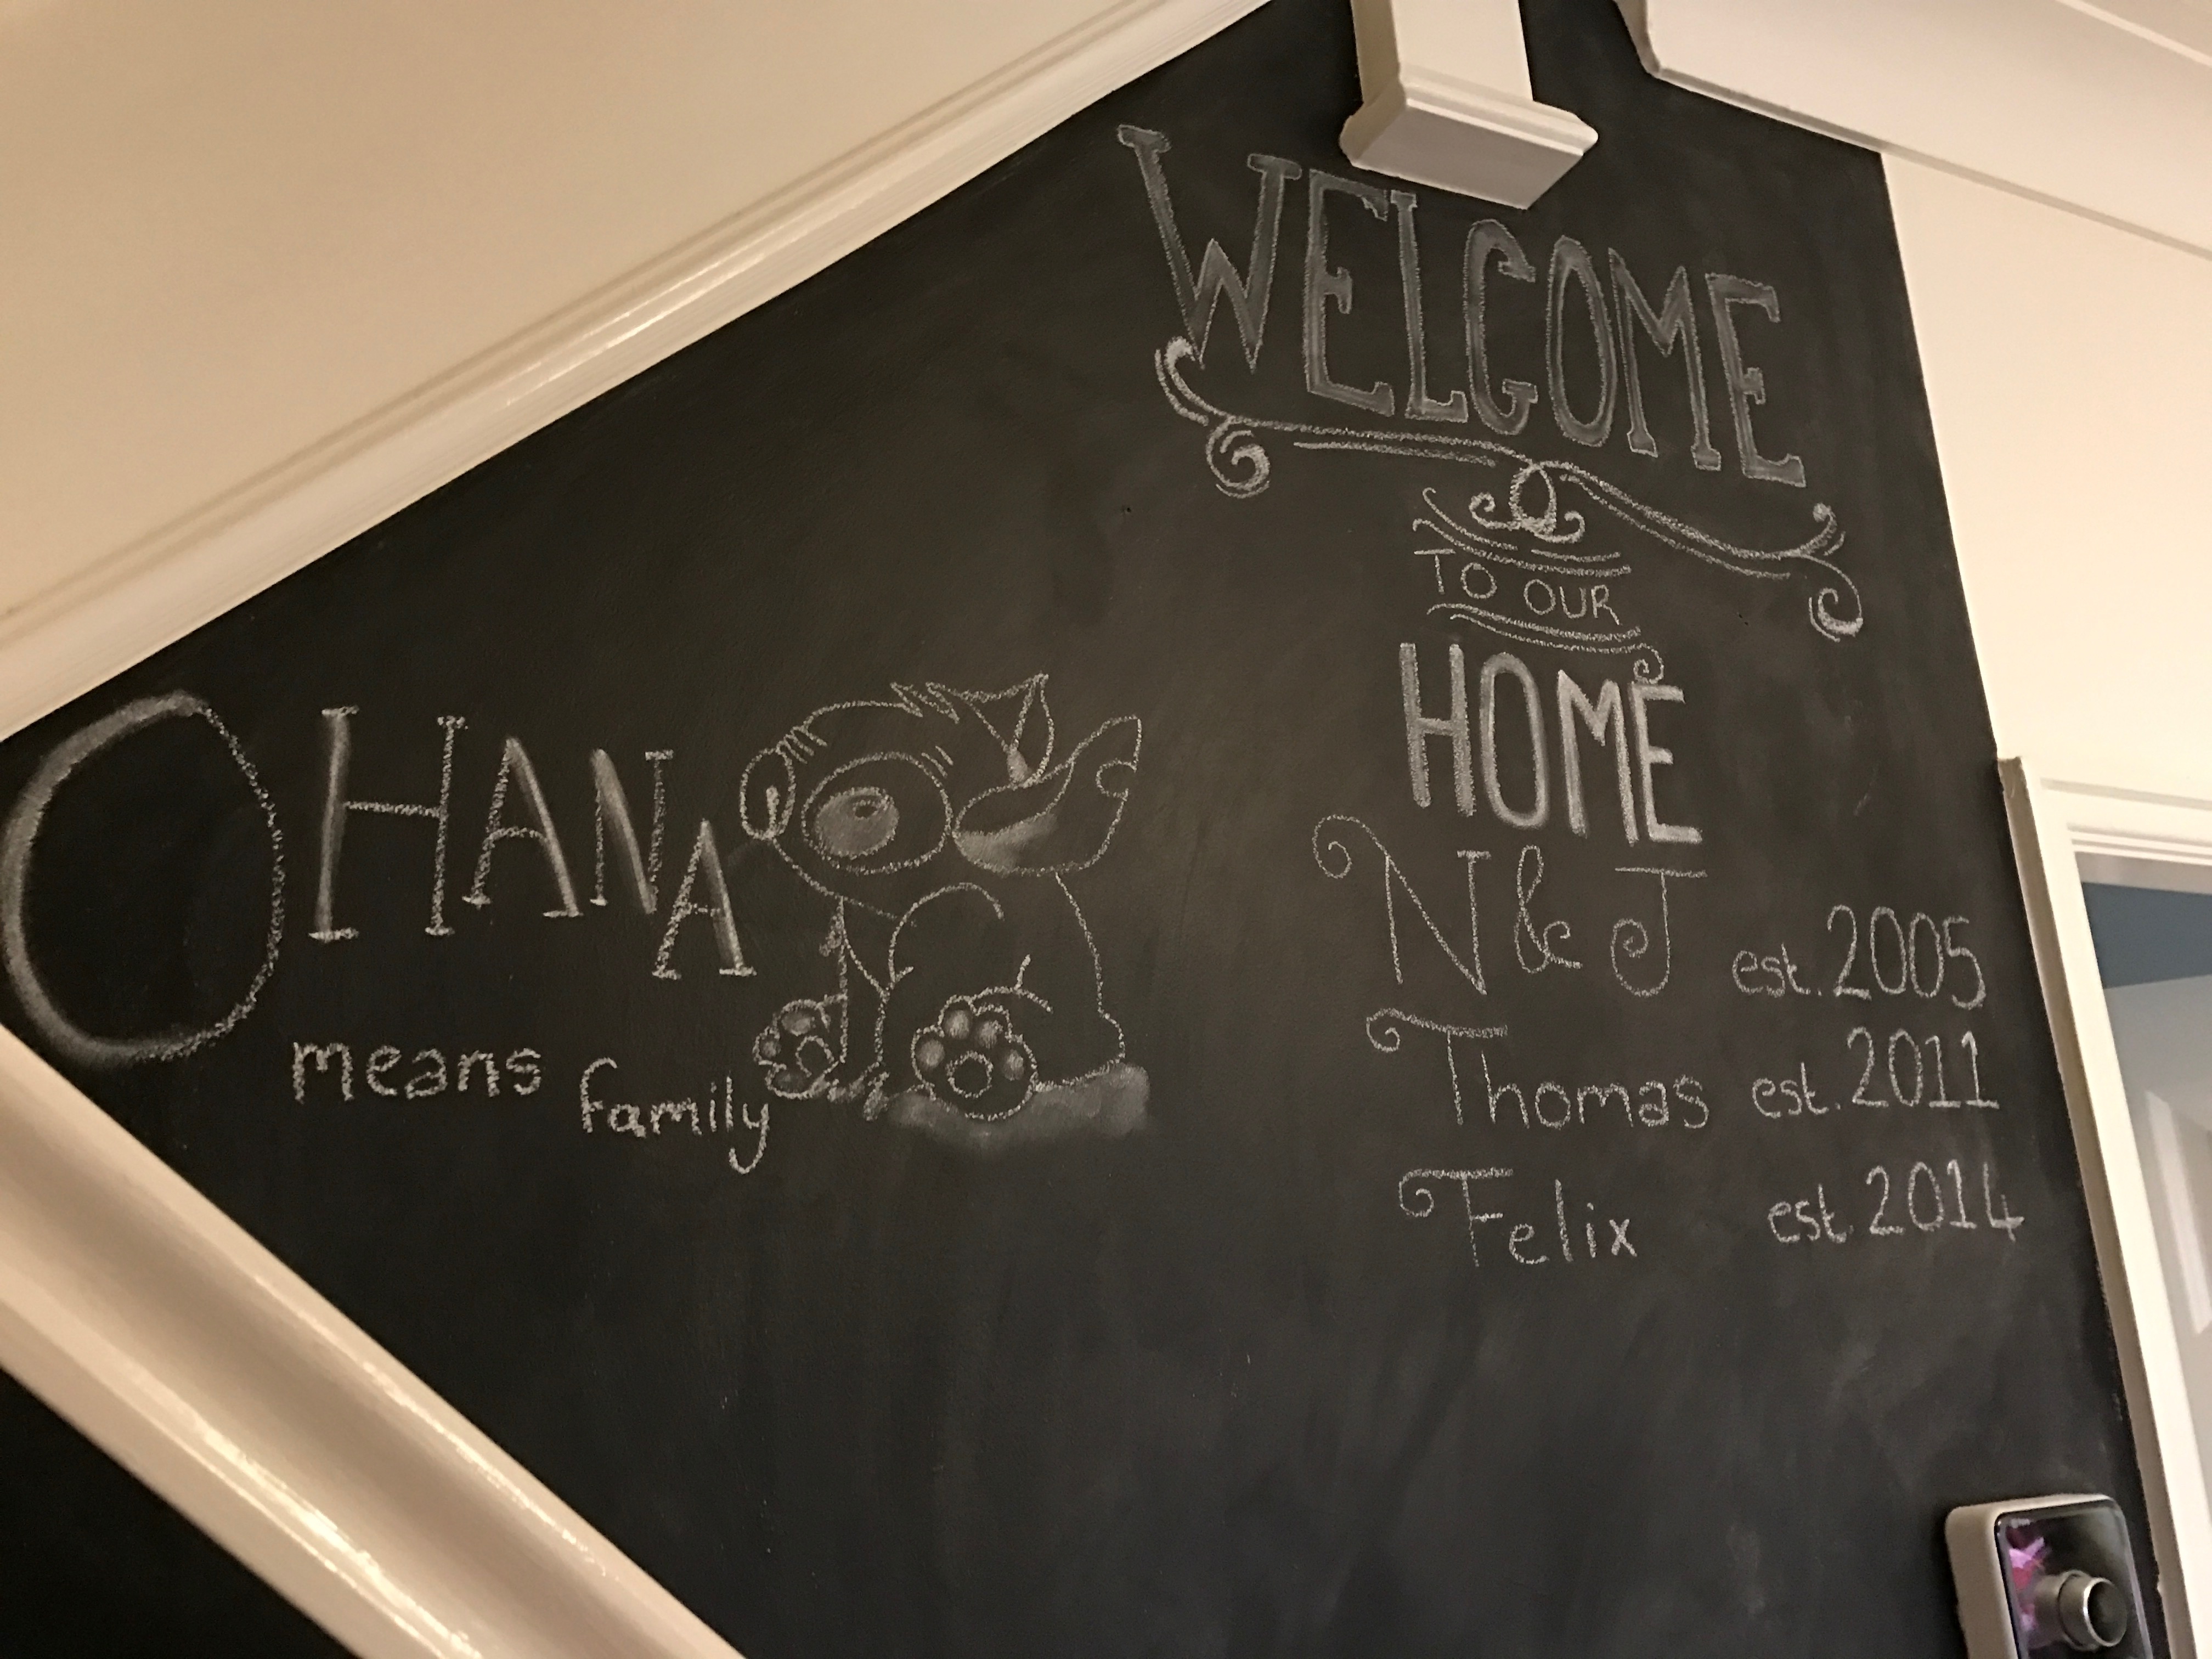
Slowly but surely I spent the next couple of days adding doodles here and there as I thought of them.


The coffee sign is pointing to the kitchen and a nod to hubby’s love of coffee and his very own coffee station!
The Finished Project
A few days later I was happy with the effort I’d put in. I know it will change seasonally and whenever I want to update it but for now I’m saying project complete!
